How to Repair PCs in Fix PCs
Diagnose, open, service, cable, power on, benchmark—and get paid.
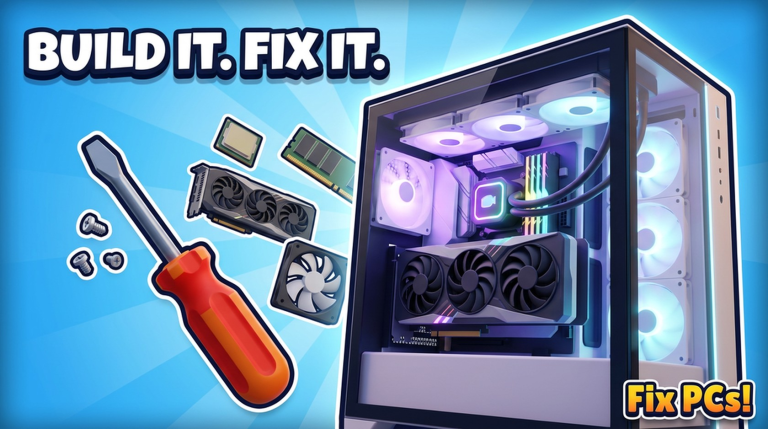
Repair is the heart of Fix PCs. Customers walk in with broken computers; your job is to find what is wrong, open the machine on the workbench, fix it properly, power on, run a benchmark, and collect payment. This guide is the deep bench tutorial—symptom reading, case screws, dust, thermal paste, RAM/GPU/CPU swaps, cables, bent pins, viruses, repaints, and what to do when the benchmark still fails. Pair it with Getting Started if you are brand new, and keep the repair checklist open for a quick pass before you return any machine.
Mindset: diagnose before you demolish
Every job starts with symptoms, not with the most expensive part in the catalog. Listen to the customer line and any UI fault flags. Map complaints to likely systems:
- No power / won’t start — PSU path, main power cable, motherboard seating, obvious disconnects.
- Overheating / thermal shutdown — Dust, cooler mount, missing paste, choked fans, blocked vents.
- Crashes / artifacting / weak GPU scores — GPU health, power connectors, seating, driver/virus flags if present.
- Memory errors / instability — RAM sticks, slots, reseating, mismatched replacements.
- CPU issues / bent pins — Socket inspection, pin straightening, cooler and paste redo after CPU work.
- Slow / pop-ups / “infected” feel — Virus cleaning pass before you blame hardware.
- Ugly or scratched chassis — Repaint or case service when the job calls for cosmetics.
Write a mental checklist of two or three suspects. You will still open the case, but you will not randomly yank a healthy CPU because the customer said “it’s dusty.”
Step 1 — Get the PC on the workbench
Accept the job at the counter, carry the machine carefully, and place it on the bench so panels face you. Stabilize the case before tools come out. If controls feel slippery on mobile or PC, review Controls for click-drag, tool switching, and panel focus tips.
Step 2 — Unscrew and open the case
Drive the screws the UI highlights. Remove side panels in order; do not force trays that are still locked. Keep track of which screws came from which holes—especially on denser cases you will see later when building customs or racks in Build Custom PCs. Opening cleanly prevents “mystery rattle” failures after you close up.
Step 3 — Dust and visual inspection
Blow out dusty PCs before you celebrate a part swap. Dust blankets coolers and fans, fake-fails thermal benchmarks, and hides bent pins or unplugged cables. After the dust pass, look for:
- Disconnected power or data cables
- GPU or RAM not fully seated
- Cooler cocked off the CPU
- Scorch marks or obviously dead components
- Pin damage on CPU or socket area
- Filth that needs a second cleaning pass
Dusting is not optional fluff—it is one of the named service loops in Fix PCs alongside repaint, pin straighten, and virus clean.
Step 4 — Thermal paste and cooler path
When you reseat a CPU cooler or replace a CPU, apply thermal paste as the game expects. Too little and heat soars; sloppy placement can be as bad as skipping paste. Remount the cooler evenly, reconnect fan headers, and confirm the cooler is not blocking RAM slots you still need to service.
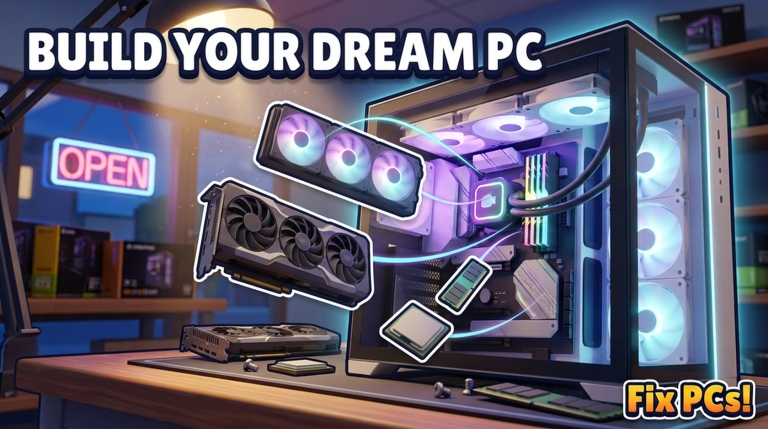
Step 5 — RAM, GPU, and CPU swaps
RAM: Pull the flagged stick(s), seat known-good modules firmly until locks engage. If you stock replacements, match what the board and job expect—compatibility mindset pays off again when you move into custom orders.
GPU: Unscrew the brace, release the slot lock, slide the card out, and insert the replacement fully. Reconnect any required power plugs. A GPU that looks installed but lacks power will fail the benchmark hard.
CPU: Open the socket carefully. If pins are bent, straighten them before you apply paste and remount the cooler. Never force a CPU into a damaged socket. After CPU work, re-check cooler screws and fan power.
With roughly 192 parts in the game—graphics cards, CPUs, motherboards, RAM, liquid coolers, fans, cases, and more—your shelf discipline matters. Use the Tier List when choosing which replacements to keep on hand for margin and reliability.
Step 6 — Cables, power, and closure
Plug every cable you disturbed. Front-panel, GPU power, SATA/data, cooler power—whatever the machine uses. Then drive case screws home and close panels. A machine that is electrically perfect but mechanically open will not feel “done” to the customer fantasy, and the game’s power-on step expects a finished chassis.
Step 7 — Viruses, bent pins, repaint (special services)
Not every job is a dead GPU.
- Viruses — Run the clean/remove flow when software infection is indicated. Swapping RAM will not cure a virus flag.
- Bent pins — Straighten carefully until the CPU seats true; then redo paste and cooler.
- Repaint — When the ticket includes cosmetic case work, finish paint before you call the job complete so the return handoff matches the order.
These services are part of the advertised loop—treat them with the same seriousness as silicon swaps.
Step 8 — Power on and benchmark
Power the PC on from the bench flow and run the benchmark. Pass means return the machine and take payment. Fail means stop and triage—do not impulse-buy a second GPU yet.
Benchmark fail recovery
Work this recovery order:
- Re-read the original symptoms—did you fix the stated problem?
- Reseat RAM and GPU; confirm slot locks and power plugs.
- Revisit dust, paste, and cooler mount.
- Recheck cables you touched while inside the case.
- Re-inspect pins if you did CPU work.
- Confirm virus or repaint tasks are actually cleared.
- Only then replace another part from stock or place an order.
Use the repair checklist as a final gate before the customer sees the machine again. Failed benchmarks are usually process misses, not bad luck.
Flow tips that raise payouts per hour
- Batch similar jobs when the queue allows (two dust-heavy towers back to back).
- Keep common failure parts near the bench so you are not walking the whole shop mid-job.
- Do not accept a dual-GPU or server-rack contract until walk-in repairs feel automatic—learn assembly pacing in Build Custom PCs.
- When the counter stays busy, hire help and expand floors via Hire Staff & Expand instead of rushing sloppy fixes.
After the repair sticks
Once you can clear dust, paste, silicon, cables, pins, and viruses without panic, your bottleneck shifts to stock quality and shop capacity. Refine purchases with the Tier List, automate throughput with staff, and keep this repair standard as the quality bar every employee and every custom build must meet.
Master the boring checklist. That is how Fix PCs shops get rich.
Frequently Asked Questions
Quick answers to the most common questions.
What is the correct Fix PCs repair order?
Diagnose symptoms, open the case, dust and inspect, service parts (paste, swaps, pins, viruses, paint), reseat cables, close the chassis, power on, benchmark, then return for payment.
Why does the benchmark fail after I swapped the GPU?
Confirm the card is fully seated, power cables are plugged, other symptoms like dust or RAM faults were handled, and the case is closed correctly before blaming the new part.
Do I always need to replace hardware?
No. Dust blow-outs, thermal paste, cable reseating, bent-pin fixes, virus cleans, and repaints are real paid services when the job calls for them.
Where can I track steps mid-repair?
Use the repair checklist tool on this wiki alongside the in-game UI so you do not skip cables, paste, or screws before power-on.
When should I move from repairs to custom builds?
After walk-in repairs and basic ordering feel consistent. Then learn custom PCs, dual-GPU workstations, and server racks for higher-value contracts.
How do staff help with repairs?
Hiring staff increases shop throughput when queues grow. Expand floors and roles in the Hire Staff & Expand guide once solo benching becomes the bottleneck.